If you have a video saved to the cloud in Zoom, you may want to add that video to YuJa in Moodle. This tutorial will walk you through the steps to manually add the video to your course using the external tool.
STEP 1
Download your Zoom cloud recording.
In your Zoom account, choose the Cloud recording you wish to download and click on the More Tab.
Choose Download. A number indicating the quantity of files to download will appear. These are the files for the recording.

STEP 2
Add your videos to YuJa in Moodle.
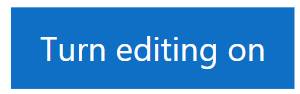
Open your Moodle course page, and Turn Editing On (this is on the top right of your Moodle page).
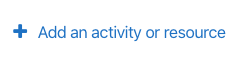
Choose where on your Moodle page you would like to add the video, and click on Add Activity or Resource.
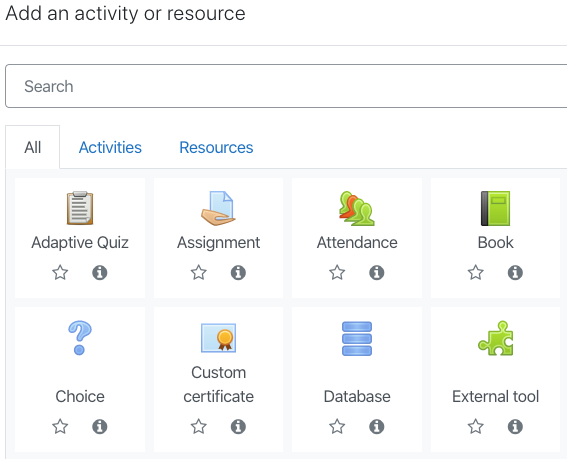
Choose External Tool.
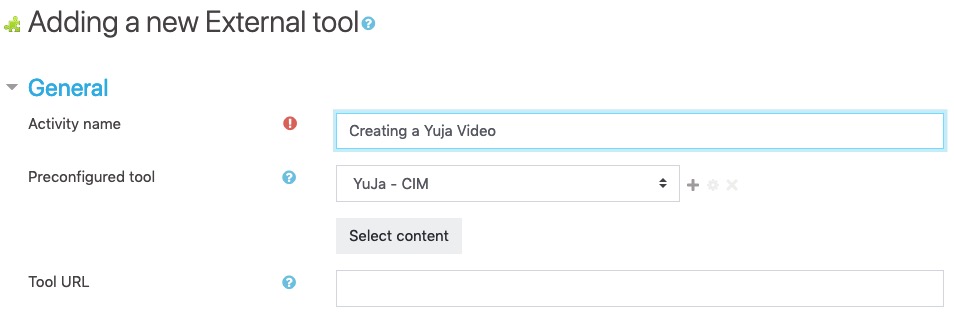
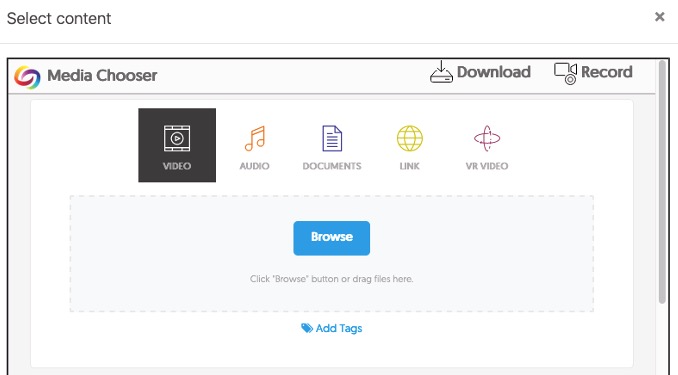
Next, give your activity a name. From the Preconfigured Tool dropdown menu, choose YuJa - CIM. Then click on Select Content.
On this page, choose Video, then Browse for the media or Drag and Drop the file into the specified area. Start Upload, and YuJu will begin uploading your video.
Once the upload is complete, close the window to return to your Adding a New External Tool page, and then click Save and Return to Course.

You are now finished. You may click on your YuJa content to access your Zoom recording.
Note: Depending on the file size of your videos, it may take some time before the upload process is complete.