Moodle's Workshop Activity is a powerful peer assessment tool. This tutorial will walk you through the process of setting it up.
OVERVIEW
The Workshop Activity allows for the collection, review, and peer assessment of student's work.
Submissions are assessed using a multi-criteria assessment form defined by the instructor.
Student's can be given the opportunity to assess one or more of their peers.
Student reviews may be anonymous if desired.
The instructor may provide example submissions to test out before students assess their peers.
The instructor may choose to publish examples of student assessments if they wish.
Students may submit files, such as word documents, or they may type directly into Moodle using the text editor.
Students obtain two grades in the Workshop Activity. One grade is for their submission, and the other is for the quality of their peer assessment skills. Both grades will be recorded in the Gradebook.
For a comprehensive explanation and walkthrough of the Workshop Activity you may watch the following video:

Or read below for a step by step explanation:
PART 1
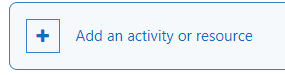
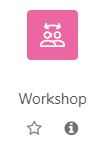
To begin, make sure editing is turned on, and click on ADD ACTIVITY OR RESOURCE, then choose WORKSHOP.
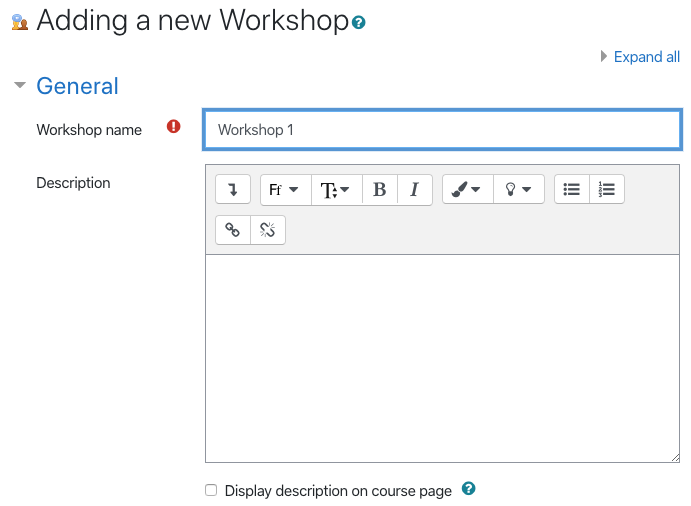
Give your Workshop Activity a title. You may also add a description if you wish.
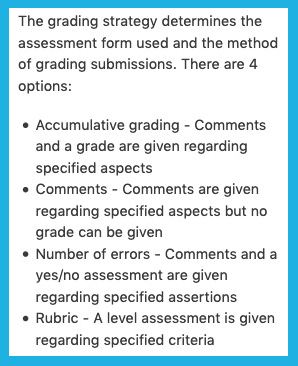
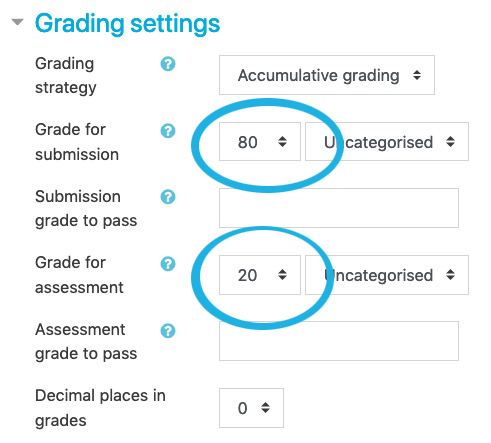
Next, you will set up the grade settings. First, you will choose your Grading Strategy. The 4 available options are listed below:
There are two grade options. One is for the student's submission, the other is for the student's assessment skills. Choose your point value for each item.
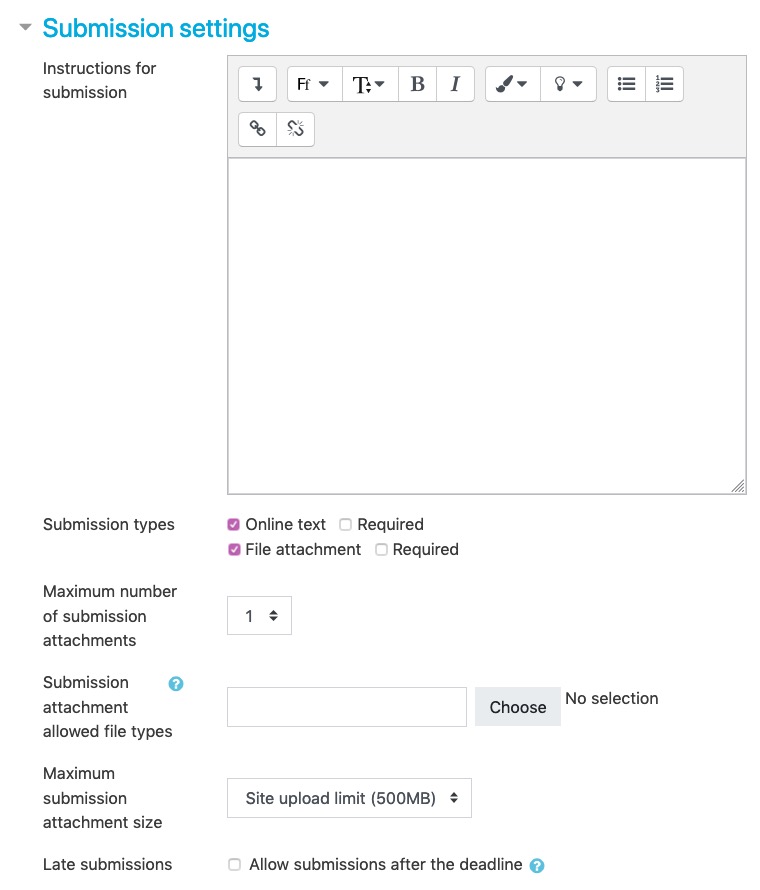
Then choose the Submission Settings.
Here, you can provide instructions for the students. In the Submission Types section, you can decide if you want the students to provide online text (students will type directly into a text editor within Moodle), or if you want the students to provide File Attachements (such as a word document). You may also dictate the number of attachments students are allowed to upload.
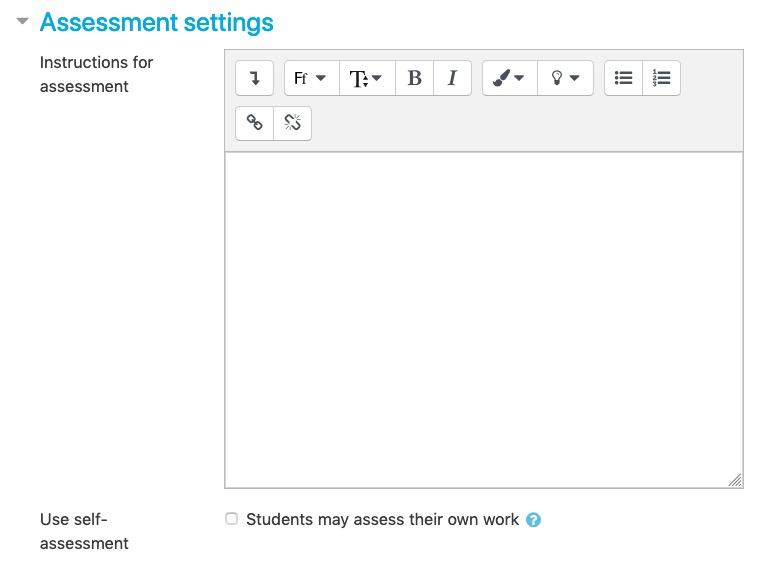
Under the Assessment Settings, you will include instructions for students, and if you wish, you may check the box at the bottom to allow for students to assess their own work.
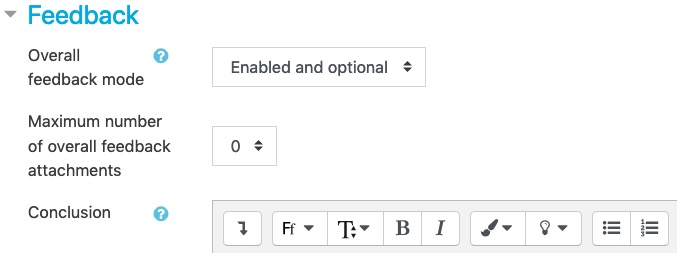
Under the Feedback section, instructors may choose to give overall feedback to students at the end of the Workshop Activity.
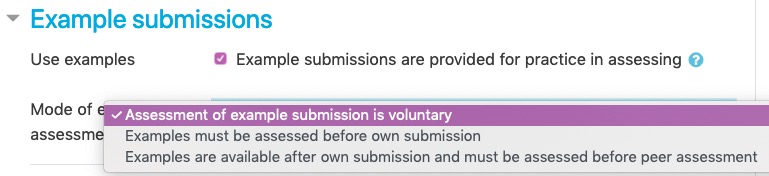
An instructor may decide to provide example submissions for students. If you would like to use examples, click on the check box. Once you click to allow examples, the options in which those examples can be given to students appears. There are 3 options, choose the one you wish.
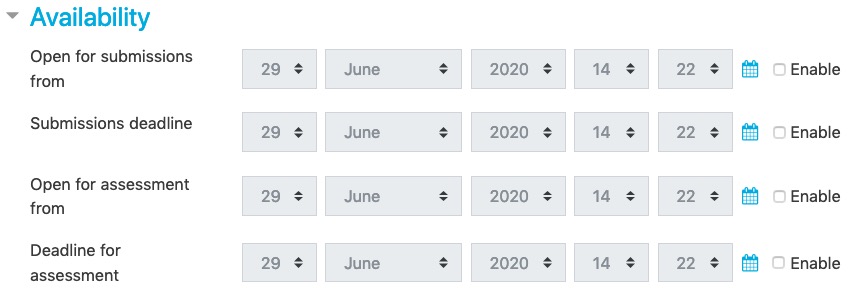
Next, choose your date and time settings for the Workshop Activity to be available to students. To activate the options, be sure to click on the box to the right of each option labeled ENABLE.
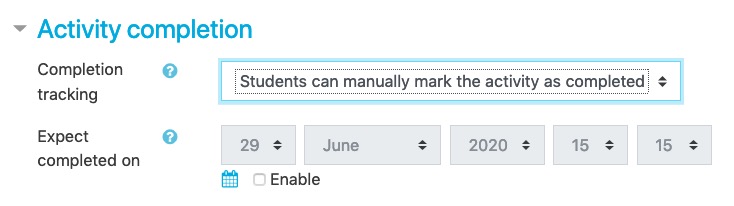
Under the activity completion, please note that only one of the two portions are required to mark the activity as complete by the students.
Once you have the settings completed, you may click on Save and Display to complete the remaining portion of the Workshop Activity.

PART 2
Next, you must edit the Assessment Form. Click on Edit Assessment Form.
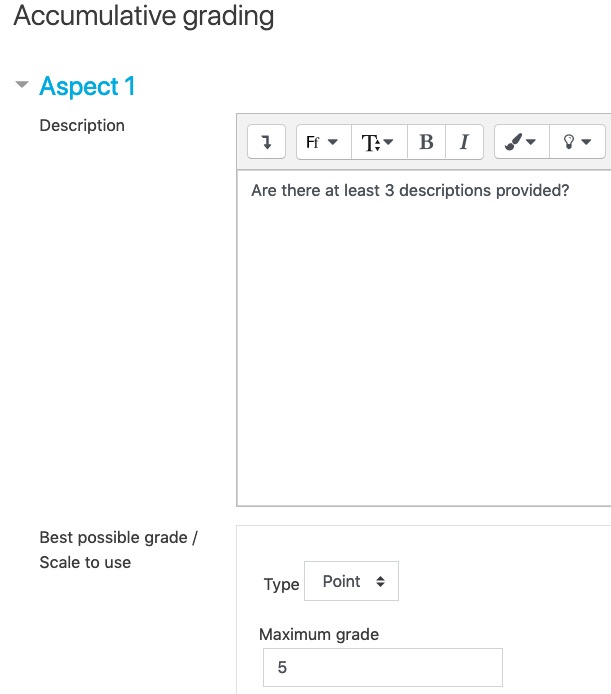
Now it's time to set the information you would like students to assess. The first criteria will be typed in the description box, and the grade point value will be set for how much this portion is worth.
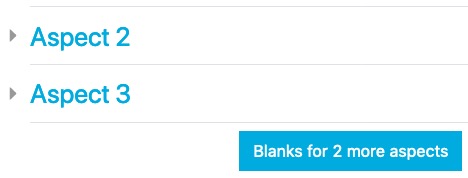
You can continue adding as many questions as needed for the student's assessment by clicking on Aspect 2, and Aspect 3, etc. If you require additional questions for students, you may click on Blanks for 2 more Aspects. This can be clicked as many times as needed until you have all your criteria set.
Once you have all aspects created, click Save and Preview.

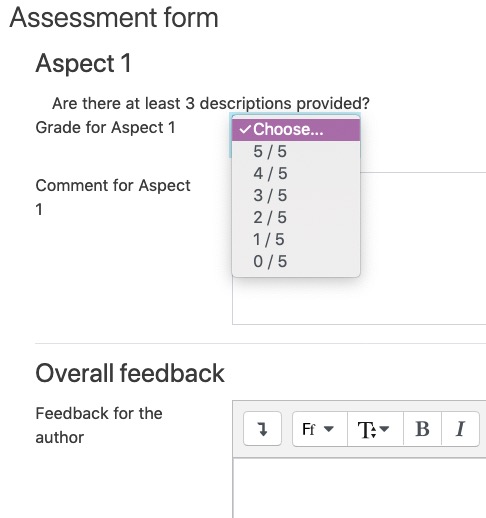
You will now see how the Assessment Workshop looks from the student's perspective.
They will see a dropdown list to determine the point value. They may give a comment, and may provide their peer with feedback.
Once you have reviewed the setup, click Back to Editing Form.

Make any necessary adjustments if needed, then click Save and Close.

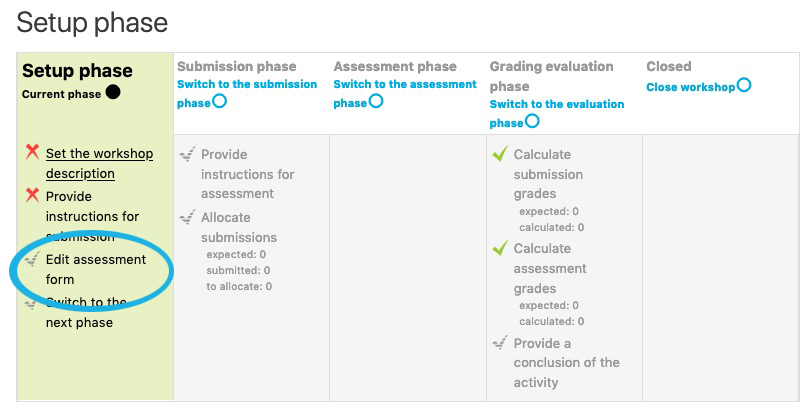
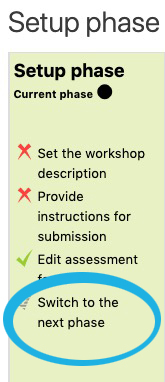
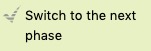
You are now back in the setup phase. Next, choose Switch to the Next Phase.
You must confirm that you are satisfied with your Workshop Assessment. Then click Continue to move to the submission phase.
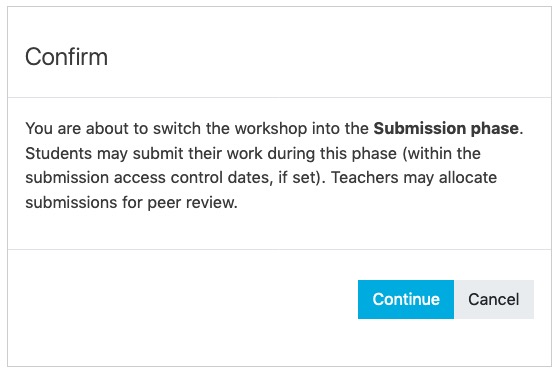
Students will then be able to submit their work.
The next step is to allocate submissions. Click on Allocate Submissions.
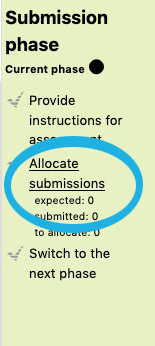
There are 3 options available:

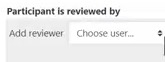
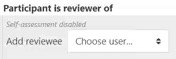
One, you may choose to manually allocate submissions. Here you may choose the user you would like to be the reviewer, and to which participant will be the reviewee.
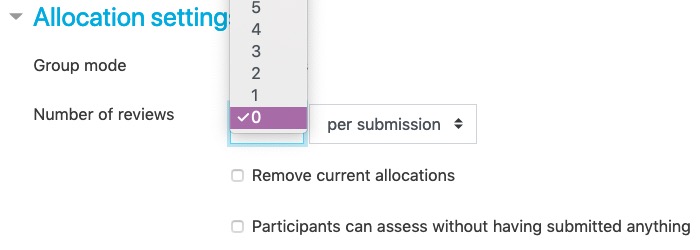
Two, you may wish for Moodle to randomly assign students to be the reviewer and reviewee. You have the option of choosing how many reviews per student submission.
Three, you may want to schedule the assessment reviews.

Once you have made your selections, you may confirm to move to the next phase.

Next is the Assessment Phase. This is where the student may scroll through the submissions they are to review. In this phase the instructor may monitor the student's work as they progress.
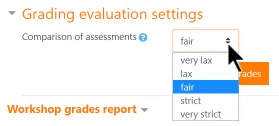
This is followed by the Grading Evaluation Phase. This is the instructor point of view. The instructor may choose to compare a student's assessment.

The instructor may also decide how strict they wish the grade comparison to be.
The instructor may still override any grades if they wish to do so.
Once this phase is completed, you may then choose Switch to the Next Phase, and confirm.

Once the Workshop is closed, both grades will appear in the Gradebook.